
Creating a Close-Air-Support mission
Click ‘Strike Line’ button
Click on the new entry and select the asset and the firing units
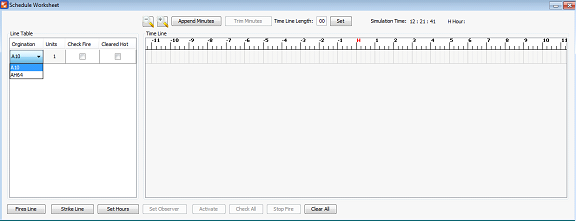
∆ Image 6o: Schedule Worksheet panel for Strike Line |
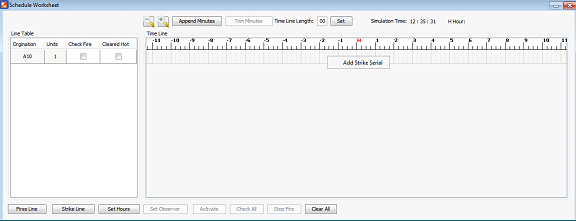
∆ Image 6p: Schedule Worksheet panel (Add Strike Serial) |
Right click on the time line of the selected entry, and click ‘Add Strike Serial’
Enter the mission data into the ‘New Strike Serial’ window and click ‘Execute’ button
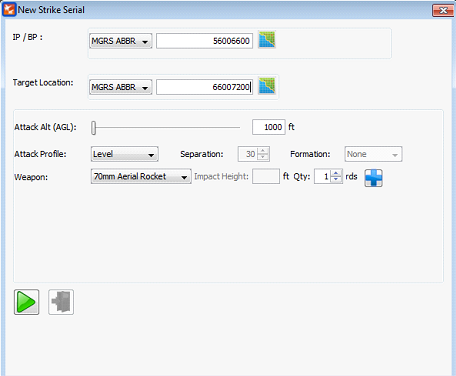
∆ Image 6q: New Strike Serial Panel |
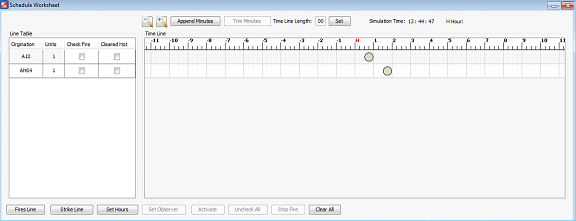
∆ Image 6r: Schedule Worksheet panel for Strike Line |
Now you need to set the hours when it should start the strike mission. Click on “Set Hours” button and set the “H Hour”. You can see in the right top corner of the ‘Set Hours’ window.
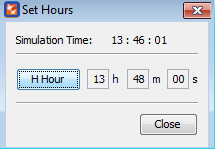
∆ Image 6s: Set Hours Window |
Now click ‘Activate’ button to create the Strike mission, to verify that the assets are firing, check the ‘Projectile Analysis’ window.
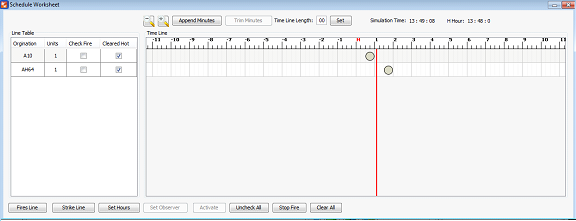
∆ Image 6t: Schedule Worksheet panel for Strike Line |
Once the user click on the Activate Button a new Strike mission will be created in the Instructor control Panel
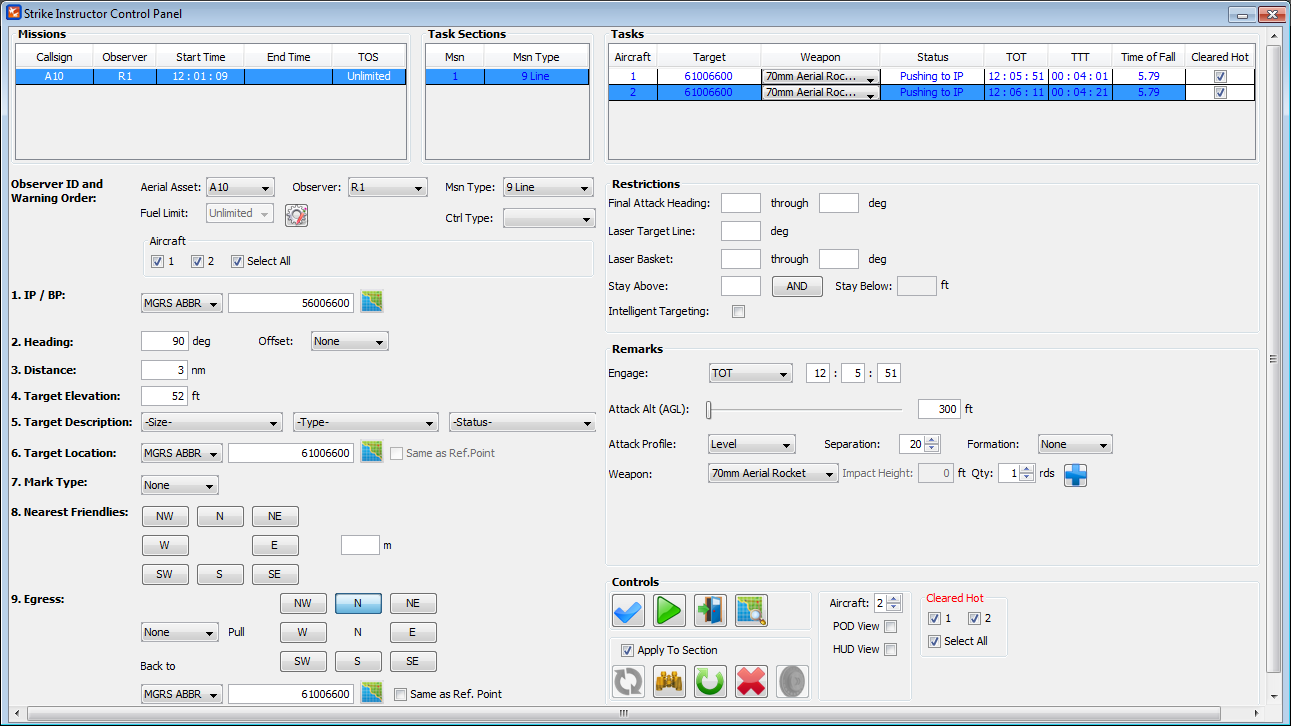
∆ Image 6u: VBS2Combined Arms - Strike Instructor Control Panel |